How to Set Up a Home Photo Booth from Scratch (UK Guide 2025)
A home photo booth has moved from novelty territory into proper DIY territory. Whether you're running a small event business, hosting regular family gatherings, or just want a dedicated space for decent portraits, setting one up at home is cheaper and more flexible than hiring a venue photo booth—but it does require some upfront thought about space, kit, and workflow.
The good news: you don't need tens of thousands of pounds or professional training. A sensible home setup runs between £800 and £2,000 depending on your ambitions. The catch: there's a real difference between "camera pointed at a wall" and "photo booth that actually produces sharp, flattering prints in under a minute."
What You're Actually Building
A functional home photo booth has four core jobs: capture decent images, light them properly, print them on demand, and do all of this fast enough that guests don't lose interest. It's the printing bit that trips most people up—everyone has a camera and a light, but few have a workflow that gets images from camera to print in under two minutes without a laptop involved.
Essential Equipment: What You Actually Need
Camera and backdrop framework. Start with a camera you either own or can justify buying. A mirrorless compact (Sony A6400, Fujifilm X-S20) or even a modern smartphone on a tripod works for starting out, but you'll hit limits fast if you plan to run this regularly. You need manual exposure control to handle varying guest distances without refocusing constantly. Mount it on a sturdy tripod—not a wobbly lightweight one—roughly 1.5 metres high, aimed slightly downward.
Your backdrop doesn't have to be expensive. A fabric backdrop stand (search "photography backdrop stand uk") costs £30–80 and holds a roll of paper or fabric. Plain colours work best: white bounces light beautifully, black is forgiving for movement, and pastels are trendy without being fussy. Avoid patterns that compete with people's faces.
Lighting—this is where most setups fail. Poor lighting makes people look tired and creates harsh shadows that the camera will flatten in unflattering ways. You need consistent, soft light hitting faces from roughly 45 degrees. This means either two ring lights (one on each side) or a key light plus a reflector.
A quality ring light (500W equivalent output) sits inches from the camera lens and gives the flat, even illumination booths are famous for. It's not "natural light" photography—it's booth light, and that's the point. If you're squeamish about the slightly theatrical look, add a diffuser over the ring light and move it back slightly. You'll lose some of that pop but gain dimension.
Budget £150–300 for decent ring lighting. Cheap Chinese ring lights flicker at certain camera shutter speeds and produce greenish casts. Not ideal when you're printing straight away.
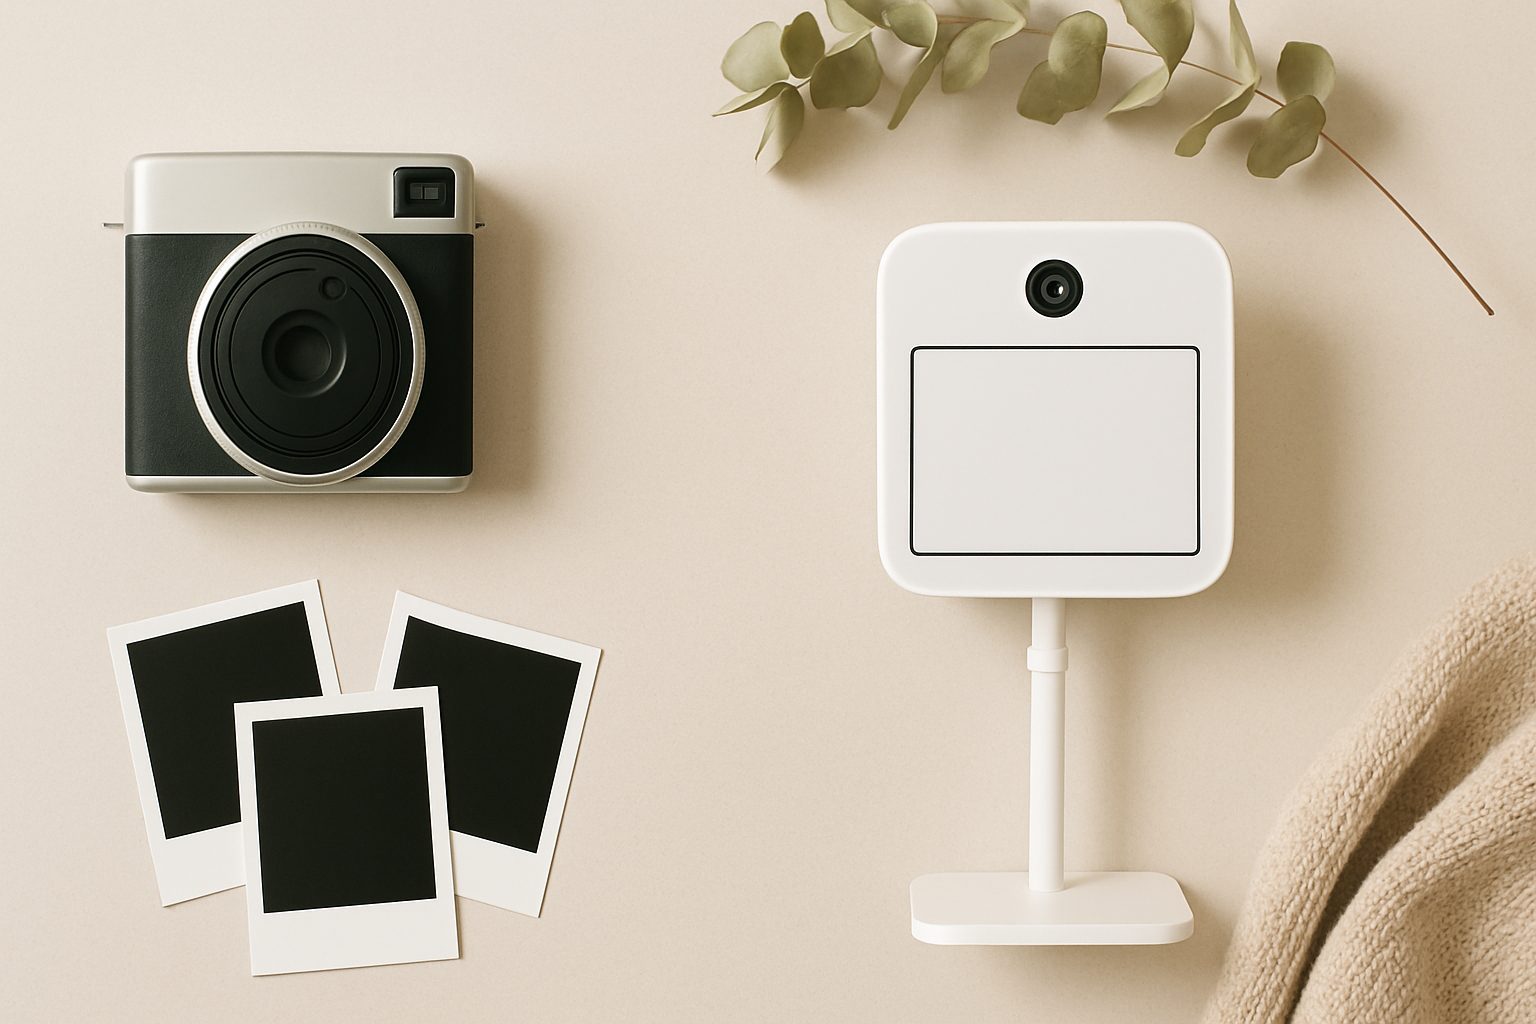
Printer—the make-or-break component. This is what separates "camera setup" from "photo booth." You need a wide-format colour printer that can handle 6×4 prints without a computer in the loop. A thermal dye-sub printer (the professional choice) prints 6×4 in under 90 seconds and produces lab-quality colours. Expect to spend £400–900 on one.
The cheaper alternative is an inkjet: an Epson SureColor P700 or P900 will print 6×4 on quality paper, but it's slower (3–5 minutes) and the ink costs add up. Still viable if speed isn't your top priority.
For software tethering, look at Capture One, Adobe Lightroom Classic, or free options like Entangle (Linux/Mac) or Cascable (iOS remote). You ideally want single-button capture and print—no menu diving during the event.
Props and extras. Don't overthink this. A small bin of hats, signs, frames (printed cardboard frames guests hold in front of their faces), and oversized glasses costs next to nothing and transforms the vibe from "passport photo" to "actual booth fun." People feel more relaxed and you get better expressions.
Physical Setup
You need roughly 2.5 metres of depth (backdrop to camera) and 2 metres of width minimum. A corner of a spare bedroom or garage works fine. Better: a dedicated alcove where you can leave the setup running without dismantling it between uses.
Mount the backdrop on a stand or clamp it to a wall temporarily. Position your ring light so it's slightly above eye level and angled down 15–20 degrees. Test with a friend—you want soft shadows under cheekbones, not harsh dark patches across eyes.
Camera settings: use a fixed focal length (50mm is forgiving), manual mode, and aperture around f/5.6 to f/8 for decent depth of field. Fix your shutter speed at 1/160s or faster to avoid motion blur. Let the ring light handle exposure (adjust as needed between sessions).
Workflow and Mistakes to Avoid
Guests want prints in their hands before they leave the booth. Set up your printer on a small table beside the camera, with a basket of finished prints. No waiting for uploads, no "I'll email you later." That workflow dies on the vine.
Most people fail because they test the booth once and assume it'll work when guests arrive. Test it with different skin tones, different distances (some guests stand further back), and different shirt colours. You'll catch flicker, colour shifts, and exposure problems before they ruin your event.
Don't cheap out on ink or paper. Thermal dye-sub prints last decades; inkjet fades. It matters when people keep these.
Ready to Launch
Once you've assembled the kit, give yourself a full weekend to test everything together: capture, transfer, print, repeat twenty times. You'll spot workflow problems and can fix them before your first real guests arrive.
More options
- Portable Instant Photo Booth Printer (e.g. Canon Selphy CP1500 / DNP DS-RX1HS) (Amazon UK)
- Selfie Mirror Magic Mirror Photo Booth Machine (Amazon UK)
- Ring Light with Stand for Photo Booth (18-inch, heavy-duty) (Amazon UK)
- iPad Kiosk Stand Photo Booth Enclosure (Amazon UK)
- Photo Booth Props Kit & Backdrop Bundle (Amazon UK)